You’ve heard this before: beginning is the hardest part. The distance from 0-1 is often more challenging than 1-100. Oftentimes, when we actually get started on a difficult task, we soon feel motivated enough to use that momentum, and keep it going. This will ring true for many things throughout our lives, and building a website is just another one. So, you’ve got your business concept, you’ve been dreaming up what it can be, and you’ve set some goals. Now, it’s time to decide how your business will present to the world. We’ve got a step-by-step path set up for you, breaking down how to get your website off the ground.
Step 1: Decide which website building platform you want to use.
There are numerous simple website building platforms that will be infinitely valuable in creating your website. It’s recommended to steer clear of building your website from scratch this is just going to create more work than necessary, and the end result is mediocre, especially considering the amount of hours put in. Website building platforms were created for a purpose they’ll make your website look professional, will provide a solid user experience, and will be aesthetically appealing.
We’ll lay out a few of the most noteworthy platforms, and whether or not they’ll cost you money:
Free:
- WordPress
- Joomla
- Progress Sitefinity
Paid:
- SquareSpace
- Wix
- Weebly
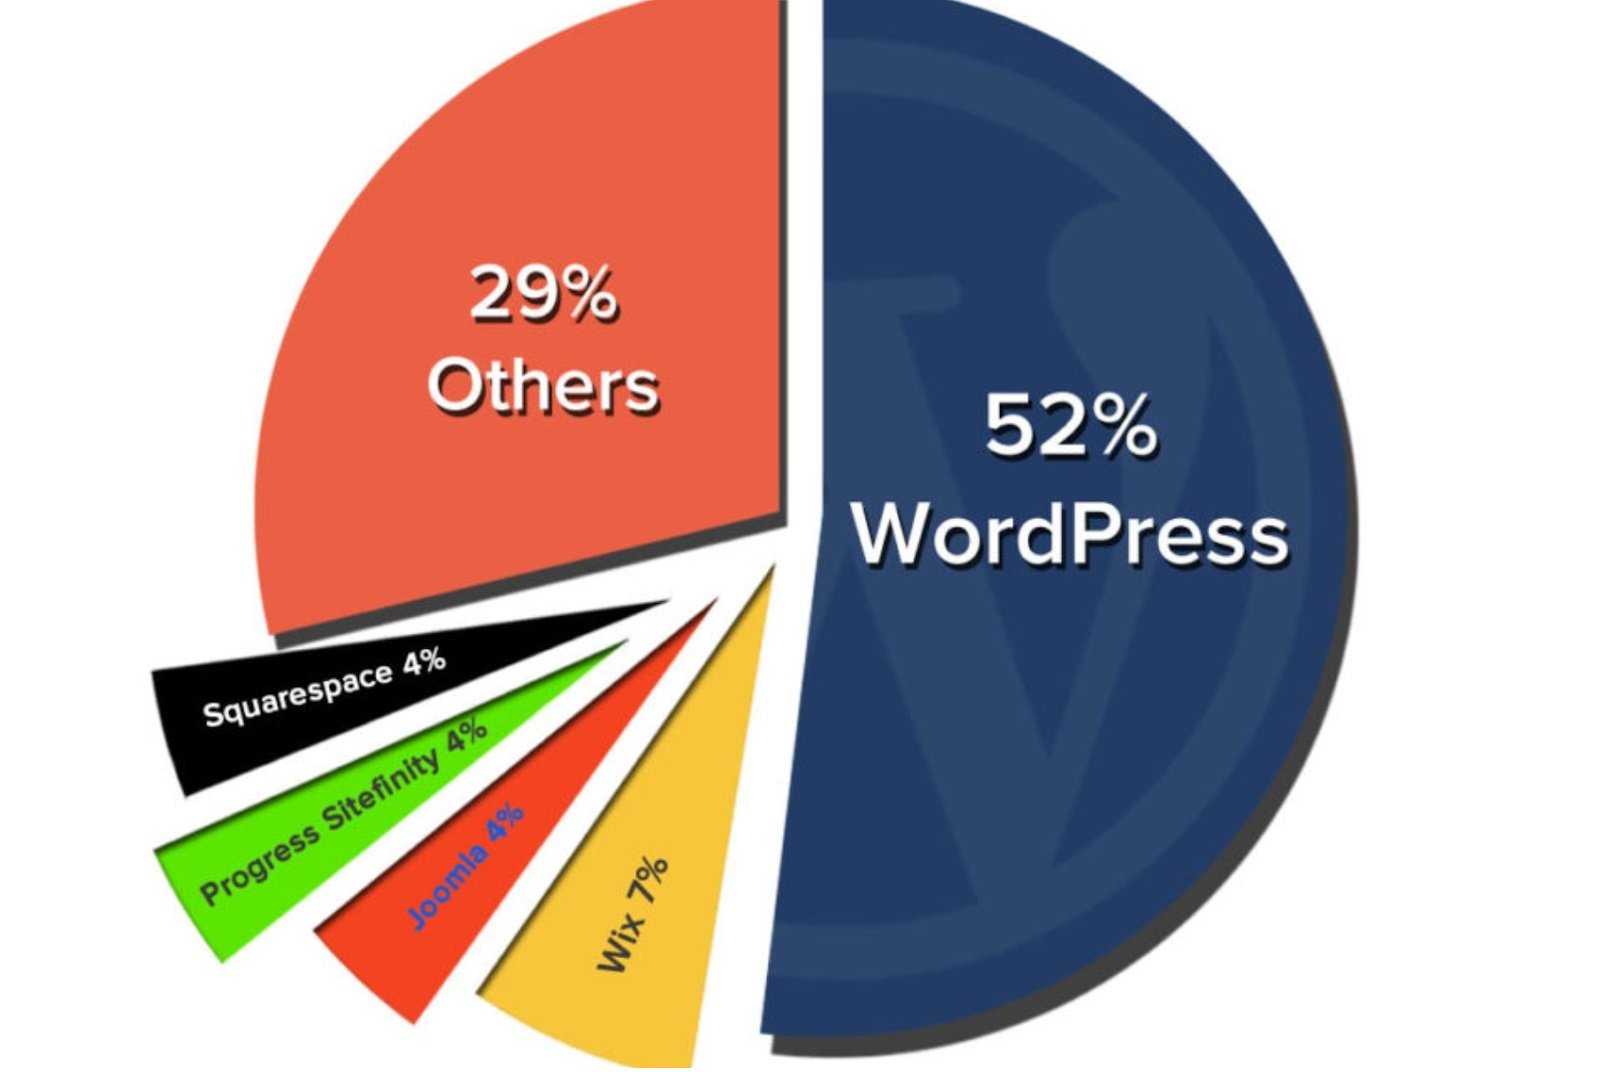
If staying low cost is important to you, WordPress is a great website builder to start with. It’s probably the platform you’ve most heard about, and for good reason it’s simple to use, and is flexible enough to suit all sizes of business’ and types of websites. If you’re creating your first website, and don’t want to spend 6+ months learning HTML from scratch, we suggest starting with a free and easy-to-use option like WordPress.
If you need further evidence, check out this graphic displaying the breakdown of how people build websites in 2019 made by BuiltWith.
Once you’ve nailed down which web building platform is for you and your business, it’s time to decide a few key details: your domain name and web hosting.
Step 2: Get web hosting and register your domain name
Your domain name is the web address that your customers will use to access your site (Google.com, Facebook.com, etc), and your web hosting is the service that connects your site to the internet.
Web Hosting:
Web hosting is how your website becomes visible in the digital world, so although it may not be something you’re already familiar with, it’s absolutely necessary from a business perspective. You can think of your web host as the space that you buy to store your website files on a web server. Some examples of web hosts, from most to least common, include: GoDaddy, Amazon Web Services, Google Cloud Platform, and 1&1. If you’re familiar with a few of these, but are trying to narrow down which host to use, take a peek at this article by Hosting Advice, which will break them each down.
Once you’ve decided on the host you’ll use, you’ll choose which hosting plan to use based on your business’ needs. Keep in mind that starting with the basic plan is never a bad idea, as you’ll always be able to upgrade later on. After nailing down your host of choice, it’s time to decide on your domain name.
Domain Name:
Owning your own domain name is incredibly affordable, and will look far more professional than hosting your website on another domain (e.g. elevate.my-free-website.com). Anything but owning your own domain name is limiting the extent to which your business will look credible and trustworthy to potential customers. If you already have a business name, this should be simple – YourCompanyName.com will do just fine.
Domain names will typically end with one of the following: .com, .org, or .net. We suggest sticking with one of these common endings to make your website as easy as possible to track down to people other than yourself.
Step 3: Set up the website through the web host
For the purposes of this article, we will refer to WordPress as the platform we’re using, and GoDaddy as the web host.
At this point, it’s time to install WordPress to your domain. Think of this as connecting the circuits. This is a simple process because of one-click-installation. Something to keep in mind: if you don’t see one-click-installation as an option with a platform as common as WordPress, we suggest reconsidering the host you’ve chosen. This is a simple task, and shouldn’t be made more difficult with a complicated installation process.
Step 4: Design your website
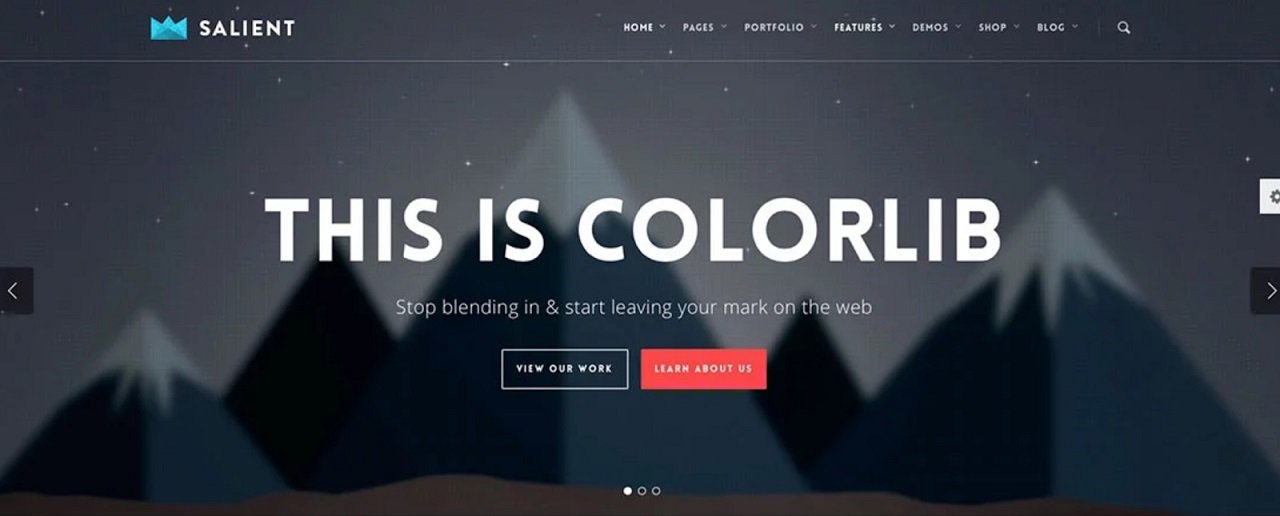
Now that WordPress (or whichever platform you’ve chosen) is installed to your domain, your website has been born! Welcome to the digital world. This is the time where your creativity can shine through designing your new website. First, it’s time to pick a theme. A theme is a design template that communicates to WordPress how your website will appear. Here’s an example of a theme:
Choosing a theme can get tough because of the sheer number of themes available (over 1500 on WordPress alone). That said, you don’t need to stray far from the many free themes available with WordPress. If you’ve scoured the free theme section and aren’t finding anything that catches your eye, you can always check out ThemeForest.net, which will have plenty more options at different price points. One thing not to forget when choosing your theme: you also want it to look good on a mobile device – we all know that this is how many people browse the internet nowadays. One more tidbit that’s nice-to-know is that when you switch your themes, you’ll never lose the previous posts, pages, and content you’ve input into your theme prior.
Step 5: Add content
Consider what pages you’ll want available to whoever is visiting your website. Take a look at other websites similar to your concept/business/brand, and decide what information is important to you to share. Some options may be ‘About Us’, ‘Services’, ‘Blog’, and ‘Contact’.
We love wpbeginnner.com as a source to help guide adding content and making changes to your website on WordPress. Some examples of how to add content and change what’s already there are included within wpbeginner.com, some of these changes include:
- Adding and editing pages
- Adding pages to the menu
- Adding and editing posts
- Customization and many other tweaks
- Changing your title and tagline
- Disabling comments
- Installing plugins
For step-by-step explanations on how to curate your content and the way it’s presented to your audience, wpbeginner.com will be your go-to.
Bringing it all together…
Once you’ve followed this step-by-step how to get started on your website guide, you’ll be ready to launch! You’ve now done the following:
- You’ve chosen your platform.
- You’ve gotten web hosting and registered your domain name.
- You’ve set up the website through your host.
- You’ve designed your website.
- You’ve added content.
Knowing all of this, one last thing to keep in mind is that your website can be ever-changing. It’s recommended that you spruce it up and always aim to keep it looking fresh, seasonal, and on-brand as you evolve as a business.