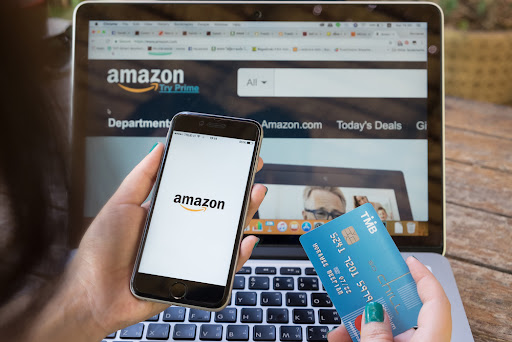
Amazon generated an astounding $386 billion net profit in 2020, and it is natural to want a piece of it. Amazon stores increase your value proposition, boosting brand awareness and generating revenue.
Competition is fierce in the Amazon marketplace. However, you can build a robust brand using a few ground rules and armed with a can-do attitude. To help you get started, we curated a step-by-step guide on how to open an Amazon store.
But first, what is an Amazon store?
What Is an Amazon Store?
An Amazon store is a self-service Amazon product that allows you to build your online business on the Amazon marketplace. You can create a registered brand and customize it with text, pages, and other unique features different from Amazon’s standard layout to create a more immersive brand.
To start with an Amazon store, you must register with a seller’s account on the Amazon brand registry. You need documentation, which we’ll get into later.
Why You Need an Amazon Store
Most Amazon sales associates move into the Amazon marketplace to generate income, but this is far from the only reason you need an Amazon storefront. Here’s a brief rundown of some other reasons:
- Amazon occupies a large share of online real estate. Using robust PPC and sponsored content on Amazon increases brand awareness and converts more purchase-intent leads.
- Capitalize on internal and external traffic. Creating a private label for your products generates inorganic traffic, and if you have an engaging store, you get organic clicks to your product listings. You can also channel your social media traffic to your storefront.
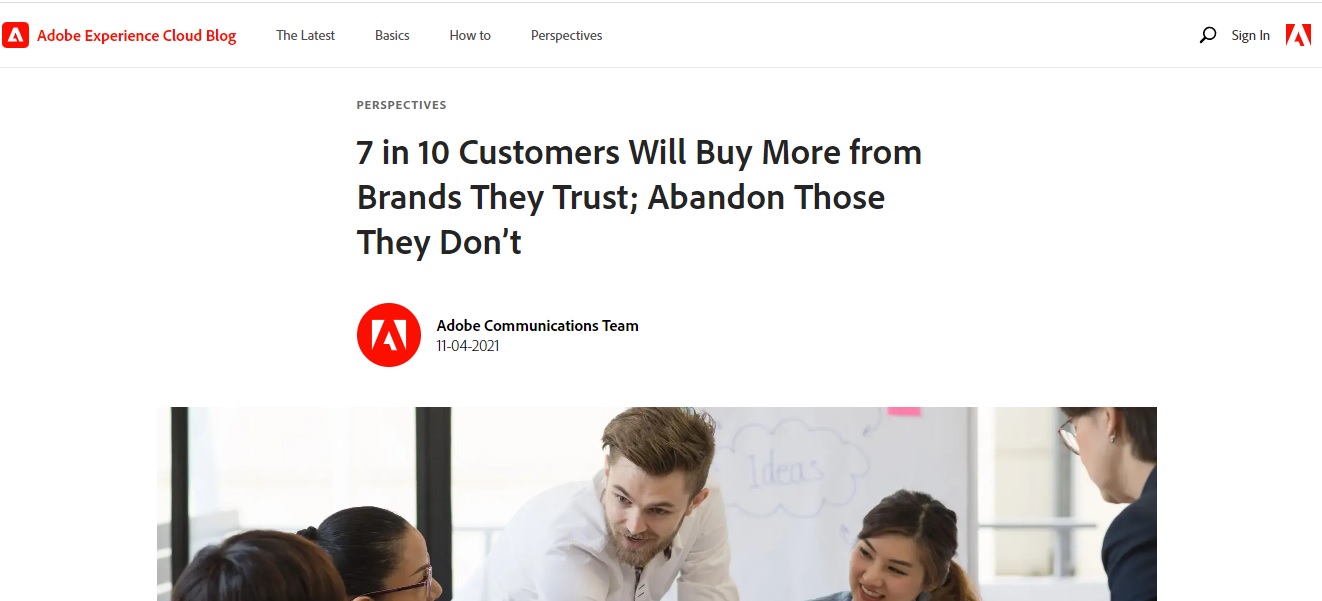
- It increases brand credibility.Seven out of 10 customers buy more from brands they trust, and prospects are more likely to turn into customers if they work with a reputable brand. Reputation is everything for an e-commerce business, and Amazon gives you the platform to increase brand integrity through accurate product descriptions and timely delivery.
- Increase SERP positions. Being part of Amazon increases your rank in search engine results pages, increasing brand awareness and credibility.
- No pesky ads. The principal benefit of building a store on Amazon is that users will only view your products and not your competitors’ ads.
- Monitor sales KPIs. Amazon leverages analytics so you can monitor where traffic is coming from to optimize your Amazon PPC strategy.
How to Open an Amazon Store
1. Open an Amazon Seller Account
Setting up a seller’s account is a cinch if you have an active credit card and your company’s or brand’s details. Visit the Amazon Associate web page and sign up on the Amazon Seller Central page. You can select between selling as an individual or choosing the professional plan.
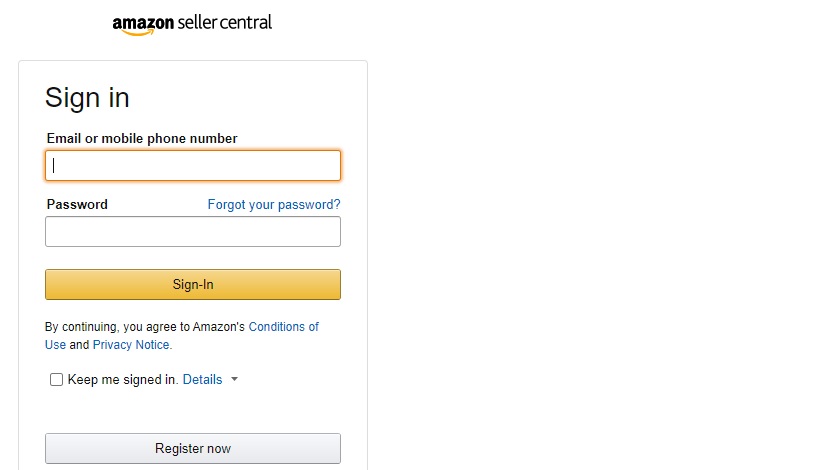
The individual plan costs 99 cents for every purchase, and the pro plan has a surcharge of $39.99 per month. You should note that to become an Amazon FBA, you must choose the pro plan. While setting up your account, you will need to specify whether you will run the business as an individual or a privately owned agency. Fill in the business contact, address, and credit card details, then wait for the approval.
You will need the following documents when opening a seller’s account:
- Your name (as per the income tax return)
- Your full address
- Your contact information
- Your email address
- Registration state
- Your business structure type (LLC partnership, sole proprietor, corporation)
- Your FTI (Federal Tax Identification) number
- First & last name
- DOB (Date of Birth)
- Government-issued ID like driver’s license number
- A high-quality image of the front and back part of your ID
- Country of issue
- Your bank’s account statement
2. Register Your Brand
Head over to the Amazon Brand Registry, a dedicated brand protection program, and follow these steps to enroll in the program:
- Sign in to your Amazon Seller Central account.
- Fill in your brand name.
- Provide a government-registered trademark or pending watermark.
- List the product categories applicable to your brand and the countries of manufacture and distribution.
- Click Submit.
After clicking Submit, wait for Amazon to approve and reply with a verification code. Approval time may range from 24 hours to over a month. If approval takes longer than a day, do not fret. Use the time to infuse unique value propositions into your products or images.
When applying to the registry program, you need an active trademark or a pending watermark filed through Amazon’s IP accelerator. The trademark can be text-based or image-based. You must also prominently show your business name and logo on your products to enroll in the program.
Enrolling in the Amazon Brand Registry program gives you more control of the branded products. You can also leverage Amazon’s automated monitoring tools to spot copycats and content that infringes on your brand.
Your success in the Amazon marketplace is not entirely dependent on enrolling in the Amazon Brand Registry program; you can have a successful store without registering. However, enrolling in the program gives you access to various analytical tools, such as brand analytics, that you will find helpful for generating store insights and growing your store’s client base.
3. Read Amazon’s Policies
There’s no rush in creating an Amazon storefront. Read Amazon’s creative acceptance policies. We know no one reads through the terms and policies, but you must for Amazon’s store creation if you want to get it right. There are a lot of specifics you need to know. For example, Amazon does not accept product images that are not of high resolution. QR codes are also off-limits.
4. Create Your Store
Creating an Amazon storefront may seem daunting at first. The naysayers may shoot down your Amazon storefront idea by telling you you need coding skills or that creating a store from scratch is impossible. But you do not need coding or software development skills. Amazon provides free resources to create an immersive store and scale it to meet your evolving needs.
To create an Amazon store from your Amazon seller account, navigate to Amazon Seller Central or Amazon Vendor Central and go to Stores. Click Manage Stores, then Create Stores. A pop-up box will show where you can select your brand’s name. Click “Create Store.” You will now be in the store builder front.
Before proceeding to the next step, Amazon will ask you to enter your brand display name and logo. Use a name and logo that customers already recognize. After uploading the image, proceed to customize your store.
5. Choose a Template for Your Store’s Homepage
The Amazon store builder makes it easy to create your store by choosing one of the three predesigned templates. The homepage options are:
- Marquee – uses hero images to highlight products in your store
- Product grid – showcases all products in your inventory
- Product highlights – allows you to focus on high-earning products and build value propositions through videos or images
If webpage design is your forte, Amazon has a blank template you can design to your liking. This process is much like building a website on WordPress or Wix.
Remember, the homepage is the first thing customers will see when they log in to your store. Make it compelling by using appealing images and a catchy meta description. For example, if you sell cars, your tagline or meta may be “We don’t just sell you a car; we help you own one.” Great content videos can attract customers to your site, and a well-crafted tagline can appear as a featured snippet on search engine results pages. Read on for more on how to optimize your content for featured snippets.
6. Customize Your Store
The homepage is created by default on your Amazon Storefront, and you can choose to create multiple pages or stick with one. A multipage storefront is ideal for attracting customers’ interest. If you wish to create pages for each subcategory, click on the left side on “Add Page.” You can vary the design from the one on your homepage. However, best practices indicate sticking with one design similar to the homepage.
Note: Subpages can feature different products. Be sure to create an easy-to-navigate multipage store. You do not want to put off clients with overkill design.
Use the Tile Manager to drag and drop tiles. Click on an individual tile to add text, products, images, or videos. You can also add links to products in the tiles. The Amazon store has a display box where you can upload a best-selling product or your logo. Choose images that are at least 3000 by 600 pixels.
7. Upload Your Products
To build a successful store on Amazon, you must upload products and sell them. Before adding the product’s text and images to your Amazon storefront, you must upload them to your Amazon Seller Account. Head to the Amazon Seller Account and choose Inventory from the navigation menu. You can add products one by one or in bulk. Ensure the product images are high resolution and set on a white background.
Click Add a Product or Add Products via Upload to upload the images. Once done, return to your storefront and add products by clicking on a tile and manually adding the product. Or, you can cut and paste the product ASINs (Amazon standard identification numbers) to populate your store.
A helpful service Amazon provides is auto-populating your store based on keywords. To improve the success of the automated process, use the free analytic tools to monitor high-earning keywords and integrate them into your product listings or descriptions. Arrange your products in the subcategories you created earlier to create an engaging multipage store.
8. Preview Your Amazon Store
Click Preview from the navigation menu just above the store builder. You will see an example of your store’s appearance on most desktop and mobile devices and on the Amazon mobile app. Now is the time to test if the product links work and if the page is attractive enough. Clicking on the tile will allow you to replace a product with another in your inventory.
9. Submit Your Store for Approval
After previewing, select Submit for Publishing and wait for Amazon’s reply. You should hear something within 72 hours. Before submitting, check and reread the Amazon Creative Policy to avoid hitting snags in your approval process. Usually, Amazon dings a store if you use salesy language like “the number one paper towels in Nantucket.” Watch for grammatical and spelling mistakes that may prevent you from getting timely approval.
Amazon will assign a URL you can share with prospects as you generate your first leads. If you want a vanity URL, Amazon does not automatically assign one. Contact Amazon under the Help > Contact Us section and request a vanity URL.
Congratulations on opening your Amazon storefront! Now you can begin driving traffic to your store and scaling your business in Amazon’s marketplace.
Secrets on How to Grow Your Amazon Storefront
With Amazon, you have access to a host of tools to grow your store. But so does your competitor. To get the maximum benefit from Amazon’s resources, you must complement them with other growth strategies. Let’s run through how to grow your business on Amazon.
Sankt-Petersburg, Russia, May 10, 2018: Amazon shopping application icon on Apple iPhone X screen close-up. Amazon shopping app icon. Amazon mobile application. Social media network
Use the study metrics provided by Amazon to get customer insights. Age, gender, income, location, tagged sources, and other demographics give valuable information about your audience, which can help you update your store with products that visitors find useful. Optimize your store using these insights to obtain the must-have competitive edge in the Amazon marketplace.
If you are just starting, do not rush to infuse paid marketing into your Amazon store campaign strategy. Instead, enroll in the Amazon Seller University and use the informational videos to better understand how to sell and grow your store.
Tagged source links drive external traffic to your store. Whether using email marketing, Facebook, SMS, or any other channel, create tagged source links and monitor them. You will want to double down on channels that drive the most traffic to your store and cut the less productive ones.
Measure sales performance. Every forward-thinking business manager knows the secret to growing your business is identifying performance metrics and optimizing them. Use free keyword research tools to identify the top keywords that convert, and use the data to create targeted ads based on those keywords.
Take Home
Because Amazon occupies prime online real estate, you need a piece of it no matter what. Set up your store using our straightforward steps and grow your storefront. At Content Refined, we believe the backbone of a robust Amazon marketing campaign that generates results is valuable content. Partner with us to curate content from product listings, descriptions, evocative images, and value proposition videos.